

How to Assemble an Industrial Pipe & Timber Bookshelf
The DIY Checklist:
What You’ll Need
1.
GEAR
(PPE)
Dust Mask (FFP2 Rated): Crucial for filtering out fine airborne particles while sanding down rough timber planks and drilling out masonry wall cavities.
Safety Glasses: Essential eye protection against stray timber splinters, masonry dust, or metal filings.
Heavy Work Gloves / Disposable Nitrile Gloves: Protects hands from rough factory pipe threads, industrial manufacturing grease, and penetrating interior wood stains.
2.
EQUIPMENT
Adjustable Pipe Wrenches (Pair): Vital for gaining proper mechanical leverage when locking threaded black iron tubes tightly into structural joint connectors.
Cordless Drill Driver: For boring pilot guide holes in timber and securely driving heavy fasteners into anchor shields.
Electric Orbital Sander: Quickly smooths out rough timber faces to prepare them for even stain absorption.
Multi-Grit Sandpaper Assortment: Moving from coarse 80-grit to fine 120-grit and 240-grit profiles ensures an exceptionally professional timber look.
Spirit Level: Essential for checking that your structural pipe upright towers stand perfectly plumb and all shelving tracks rest dead level.
Paint Brush: For laying down uniform coats of wood stain and applying clear protective polyurethane topcoats.
Tape Measure: For calculating precise layout gaps between columns and across walls.
3.
Threaded Black Iron Pipes: Heavy-duty, industrial gas or water piping lengths cut to size to create the skeleton frame.
Threaded Flange Plates: Circular mounting disks with integrated screw holes that serve as structural footings to fix the unit directly to floors or walls.
90-Degree Pipe Elbows: Clean right-angle connectors used to turn pipe runs neatly at the top corners of your frame towers.
Threaded Tee Joints: T-shaped intersection connectors that split pipe directions and create stable support benches for individual shelves.
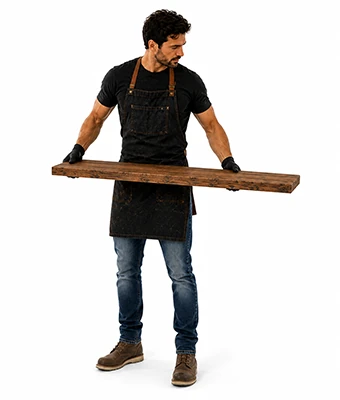
Planed Regularised Timber Planks: Thick scaffold-grade boards or robust furniture pine sections (typically 38mm thickness x 225mm width) cut cleanly to target shelving lengths.
Dark Interior Wood Stain: Enriches the timber grain with deep, rustic architectural color tones.
Clear Polyurethane Varnish or Wax: Seals and shields stained timber surfaces against everyday spills, dust, and scratch damage.
Degreaser / Methylated Spirits & Rags: For completely stripping off the sticky anti-rust machine oil coating typically found on raw black iron components.
Heavy-Duty Wall Anchors & Screws: Sized and matched to your structural wall assembly type to support heavy weight loads.
Timber Attachment Screws: Short wood screws used to lock pipe loops or saddle clips tightly to the undersides of your shelves.
Step-by-Step DIY Installation Guide
STEP
01
STEP
02
STEP
03
STEP
04
STEP
05
Move the metal frames aside. Using your cordless drill driver paired with a matching drill bit, bore holes into your pencil marks.
- For Blockwork: Use a masonry drill bit and tap robust masonry wall plugs flush into the holes.
- For Hollow Cavity Partitions: Drill out cleanly and insert specialized high-load cavity wall anchors.
STEP
06
Industrial Bookshelf Project Calculator
Estimated Basket Materials Required
• Fixing Frequency Matrix: Every structural flange plate requires 4 heavy-duty fixing fasteners to lock securely against surfaces.
• Joint Allocations: The top shelf tier utilizes right-angle 90-degree elbows, while all intermediate lower support tiers run on pass-through tee connector joints.

