

How to Fit Modern New Skirting Boards
The DIY Checklist:
What You’ll Need
1.
GEAR
(PPE)
Dust Mask (FFP2 or FFP3 grade): Critical to prevent breathing in harmful particles when cutting MDF profiles or sawing natural pine timber.
Safety Glasses: Essential eye protection against flying splinters when using manual or powered mitre saws, and block grit when hammering masonry anchors.
2.
EQUIPMENT
Mitre Saw: Used to cut completely clean, precise 45-degree angle profile joins for the external wall corners.
Coping Saw: Essential for profile cutting the internal corner joints (scribed joints) so the profile contours overlay perfectly.
Caulking Gun: To smoothly run beads of high-strength grab adhesive along the board backing and flexible acrylic caulk into the final top wall seam lines.
Hammer & Nail Punch: For driving panel pins or masonry nails entirely below the wood surface profile face without marking the timber trim finish.
Tape Measure & Pencil: For tracking running wall perimeter requirements and marking accurate square template paths.
Crowbar / Pry Bar: Used to easily pop away stubborn old skirting runs without breaking or punching holes in fragile plaster linings.
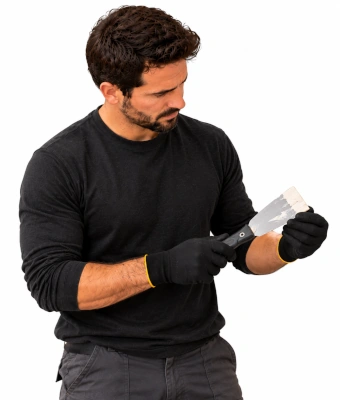
Wood Chisel or Scraper: To scrape away old residual mortar fragments, old caulking lines, or glue lumps left behind on bare masonry faces.
3.
MDF or Pine Skirting Boards: The main wood trim molding profiles, commonly sourced in convenient pre-primed lengths such as 4200mm or 2400mm runs.
High-Strength Grab Adhesive: Premium gap-filling adhesive compound applied in continuous zigzag patterns along the backing board paths for primary hold.
Panel Pins: Small, slim headless wire fasteners driven through the timber face into timber wall studs or backing frameworks.
Masonry Nails or Screws & Wall Plugs: Heavy-duty mechanical anchor elements required specifically to hold boards flush against uneven, hard concrete block interior partitions.
Acrylic Caulk: Flexible paintable decorators filler compound used to bridge the thin horizontal gap where the top edge of the board runs against the wall line.
Flexible Wood Filler or Two-Part Styrene Filler: For patching over inset nail head indentation pockets and hiding mitre corner seam gaps perfectly before paint application.
Step-by-Step DIY Installation Guide
STEP
01
STEP
02
STEP
03
STEP
04
STEP
05
Press the board firmly against the wall base.
- For Masonry Blocks: Drive masonry nails through the face of the board every 600mm, or drill through the board into the block, insert a wall plug, and drive a screw home flush.
- For Stud Partitions: Drive panel pins through the wood face into the vertical timber studs. Use your nail punch to sink all nail heads 2mm below the surface of the timber face.
STEP
06
Skirting Board Material Basket Calculator
Estimated Basket Materials Required
• Adhesive Coverage: One standard tube of gap-filling grab adhesive yield tracks roughly 6 linear meters of backing application.
• Caulk Yield: One standard tube of decorator's acrylic caulk bridges roughly 10 linear meters of top-edge wall seam lines.

